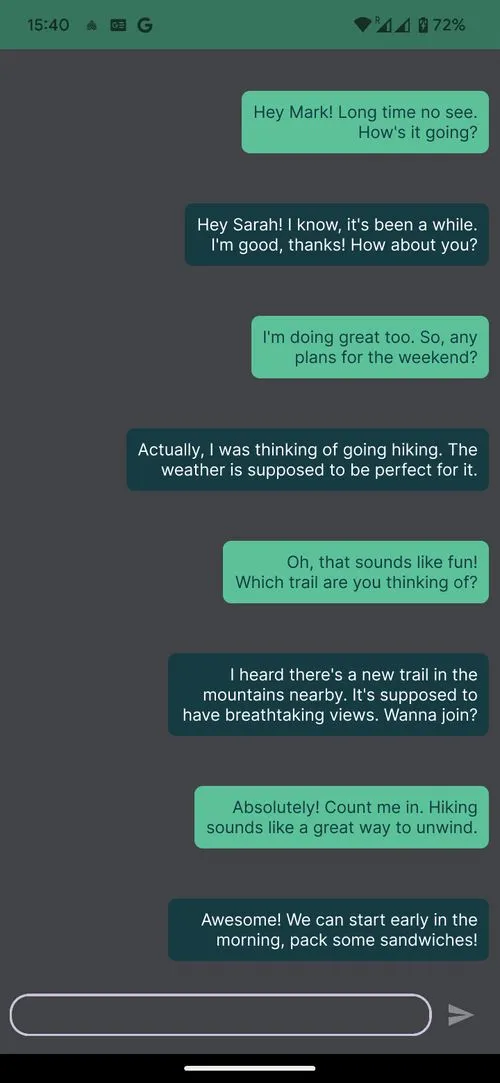
Let’s build a chat app using Jetpack Compose and Amity Chat SDK!
First, we’ll need the login functionality. In our previous tutorial, you can find how to do that using Firebase’s OneTap auth.
Keep reading for our full tutorial, or skip to the part you’re looking for:
- Initialization & dependencies
- Repository
- ViewModels
- Navigation
- Screens
Initialization & dependencies
Besides all of the Jetpack Compose dependencies, we’ll also need Hilt for dependency injection, Coil for image loading and Amity for the chat functionality.
After our login/ sign-up functionality is in place, we will initialize Amity’s SDK in our main activity.
Repository
Then, we’ll create our ChatsRepository and its implementation, where we’ll add our core functionality: fetching all the channels (aka chats), creating a new one, fetching a channel by id, fetching all the messages of a channel, and of course, posting a new message.
ViewModels
In this tutorial, we’re going to use the MVVM architecture, so let’s build our ViewModels next! We’ll need two ViewModels; one for the screen that will show a list with all of our chats and one for the messaging screen.
Here, the <span id="greylight" class="greylight">ConversationUiState</span> is independent of the chat history, as we decided to show the chat even if we can’t retrieve the previous messages. We could easily combine those two though if we wouldn’t like to show the chat at all in case an error occurs, as shown below.
Navigation
We’re now ready to start on our UI level! 🤩
First, we’ll start with our navigation, which is going to be our entry point Composable in our Application.
Screens
And we can finally build our two screens. The list of channels in our <span id="greylight" class="greylight">ChatsUiState</span> come in as a PagingData object; thus we will use the <span id="greylight" class="greylight">LazyColumn</span> layout.
For the conversation screen, we’ll also use a <span id="greylight" class="greylight">LazyColumn</span> for showing the previous messages.

And there you have it! It’s worth noticing that this is only the backbone of the chat feature, but we hope it’s enough to get you started fast :) You can also find the code on our Github. Do you have any suggestions, questions, or are you missing some features you’d like us to include? Leave a comment below, join our community or drop us a line.

